
COLORS AND LOTS OF PATHS TO CREATE THIS EFFECT! | Create a color scheme and take a sketch and trace over it with the Pen Tool and colorize away to create a really cool looking effect!
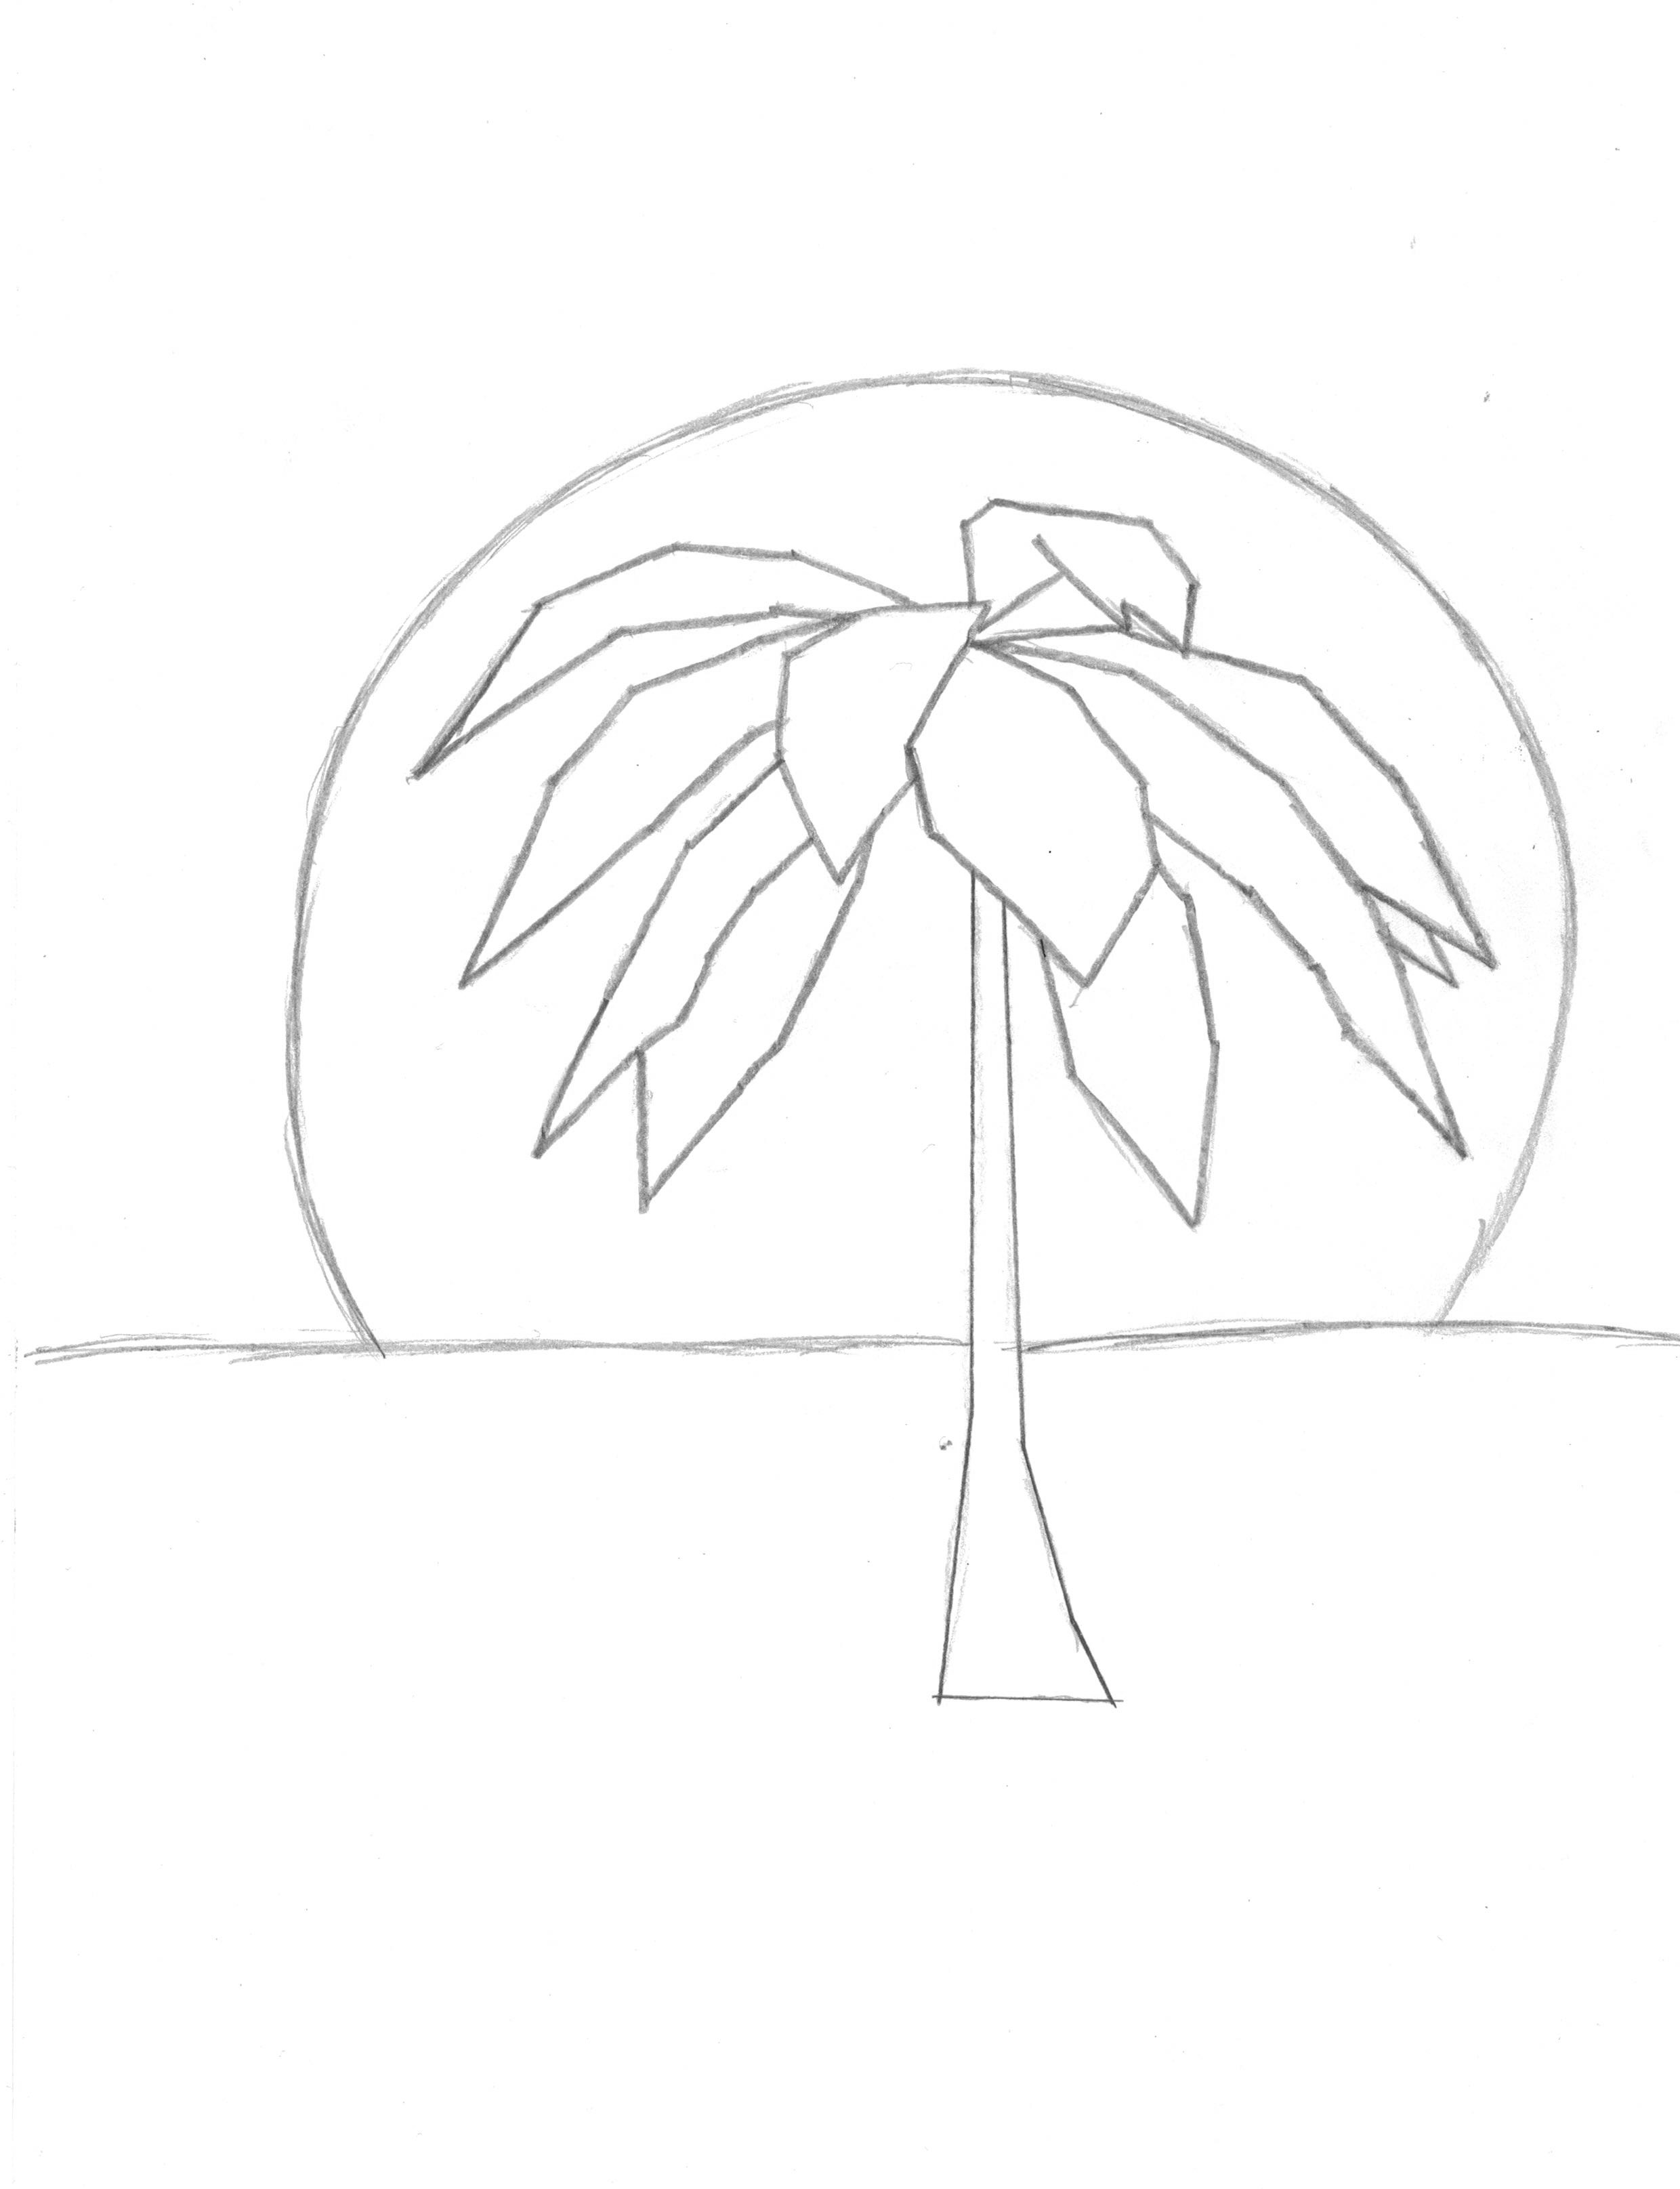
In this Adobe Illustrator tutorial, we will take a traced version of a piece of artwork that I saw online a little while ago and bring that sketch into Illustrator and convert it to a full-fledged piece of low poly artwork complete with color shading, glowing blue strokes, blended reflection effects, gradient sunsets, and more! Thanks for watching!
Tags: retro effect Illustrator, Illustrator tutorial retro, illustrator tutorial low poly, low poly effect illustrator, illustrator cc 2018, illustrator retro low poly, illustrator outrun effect, illustrator synthwave, illustrator 80s effect, illustrator vector, graphic design tutorial, illustrator low poly art, illustrator low poly design, how to, tutvid, nathaniel dodson, AI
Tutorial Recording Notes:
Disclaimer: these are the actual notes I used to record this video and are written in a language you may or may not understand. Hopefully, you find them useful or cool.
- Create new RGB 2000×2560 doc
- Shut off smart guides
- Drag in the sketch and size to the document
- Lock down that layer
- Get a no fill + black stroke and grab the pen tool and outline the tree and horizon and sun and use the rectangle tool to build the background and then the foreground as well.
- Fill background with gradient set to -85º left color stop: #3374ba, 0%location, middle stop: #c84298, 25%location, right stop: #f7911e, 60%location
- Foreground gradient: -90º, left stop: #23ccff, 15%location, right stop: #2161ca, 100% location
- Copy foreground and paste in place. Change gradient to black to white gradient at -90º, add Effect>Texture>Grain: 25–0–Stippled
- Set shape to Multiply blend mode and reduce opacity to 50%
- Copy and paste background in place and add grain in the same way. Adjust it to taste.
- Select the sun shape and add a gradient: -85º, left stop: #f5e202, 15%location. Right stop: #f05069, 80%location.
- Create series of size lines, stroke with #f5e202, 10px to 2px (10px being near the horizon, 2px being about 200px below that) and use the blend tool set to 5 specified steps to create a nice blend of lines. Set to the blend mode Overlay.
- Mask this series of lines using an ellipse with a radial gradient to fade them beautifully back into the artwork at the end of each line.
- Trace out the trunk, and the leaves. Use the base fill color #2470bc and the stroke should be #29e6ff, 3px, and rounded corners.
- As you trace each piece of the tree group the shape together to keep things tidy in the Layers panel.
- Lock layer groups as you proceed.
- After you finished creating all the shapes, unlock these layer groups and grab the Direct Selection tool and start selecting the pieces that need to be darkened and use the Color panel to just reduce the darkness of the areas that must be darkened. A little variation in the darkness level between cells in the design is perfect.
- Create a 25 step blend between a 10px stroke (#194889) at the base of the tree (as thick as the tree trunk) and a much wider (almost as wide as the art area) 2px stroke and set this blend to the blend mode Overlay and drag it beneath the grain layer that we added to our foreground.
- Save the .ai and bring over to Photoshop.
- Add a Color Balance Layer to play with the colors, add a Color LUT layer and choose the Crisp Winter LUT and reduce opacity a little, too.
Leave a Reply