
CREATE THIS LETTERING EFFECT WITH EASE! | Scan in your hand-lettered work, screen it over an image, use a few color effects to offset the lettering and sit back and enjoy. Download the lettering image here!
Visit our sponsor, Squarespace!
In this Intertwined Custom Hand Lettering Photoshop Tutorial, we will first take a look at how I use foam tipped markers for quick and easy hand lettering styles and then transfer that written effect from the paper to Photoshop and then use a cool technique to isolate the rough, textured handwriting perfectly to a photograph and then apply some layer style effects to create a cool and vibrant hand-lettered text effect that is perfect for your portfolio or for Instagram! Hope you enjoy it!
Tags: Photoshop Tutorial, Intertwined Hand Lettering Photoshop Tutorial, Tutvid, Hand Lettering, Hand Lettering Tutorial, Lettering Tutorial, Custom Lettering Tutorial, Paper Text Effect, Photoshop Lettering Paper Effect, Lettering Paper Effect, Photoshop Paper Lettering, Photoshop Paper Text Tutorial, Photoshop Paper Effect Tutorial, Photoshop Paper Text, Paper Text, Vectorize Hand Lettering In Photoshop, how to, photoshop tutorials, FEAT
Site Exclusive Tutorial Recording Notes:
Disclaimer: these are the actual notes I used to record this video and are written in a language you may or may not understand. Hopefully, you find them useful or cool.
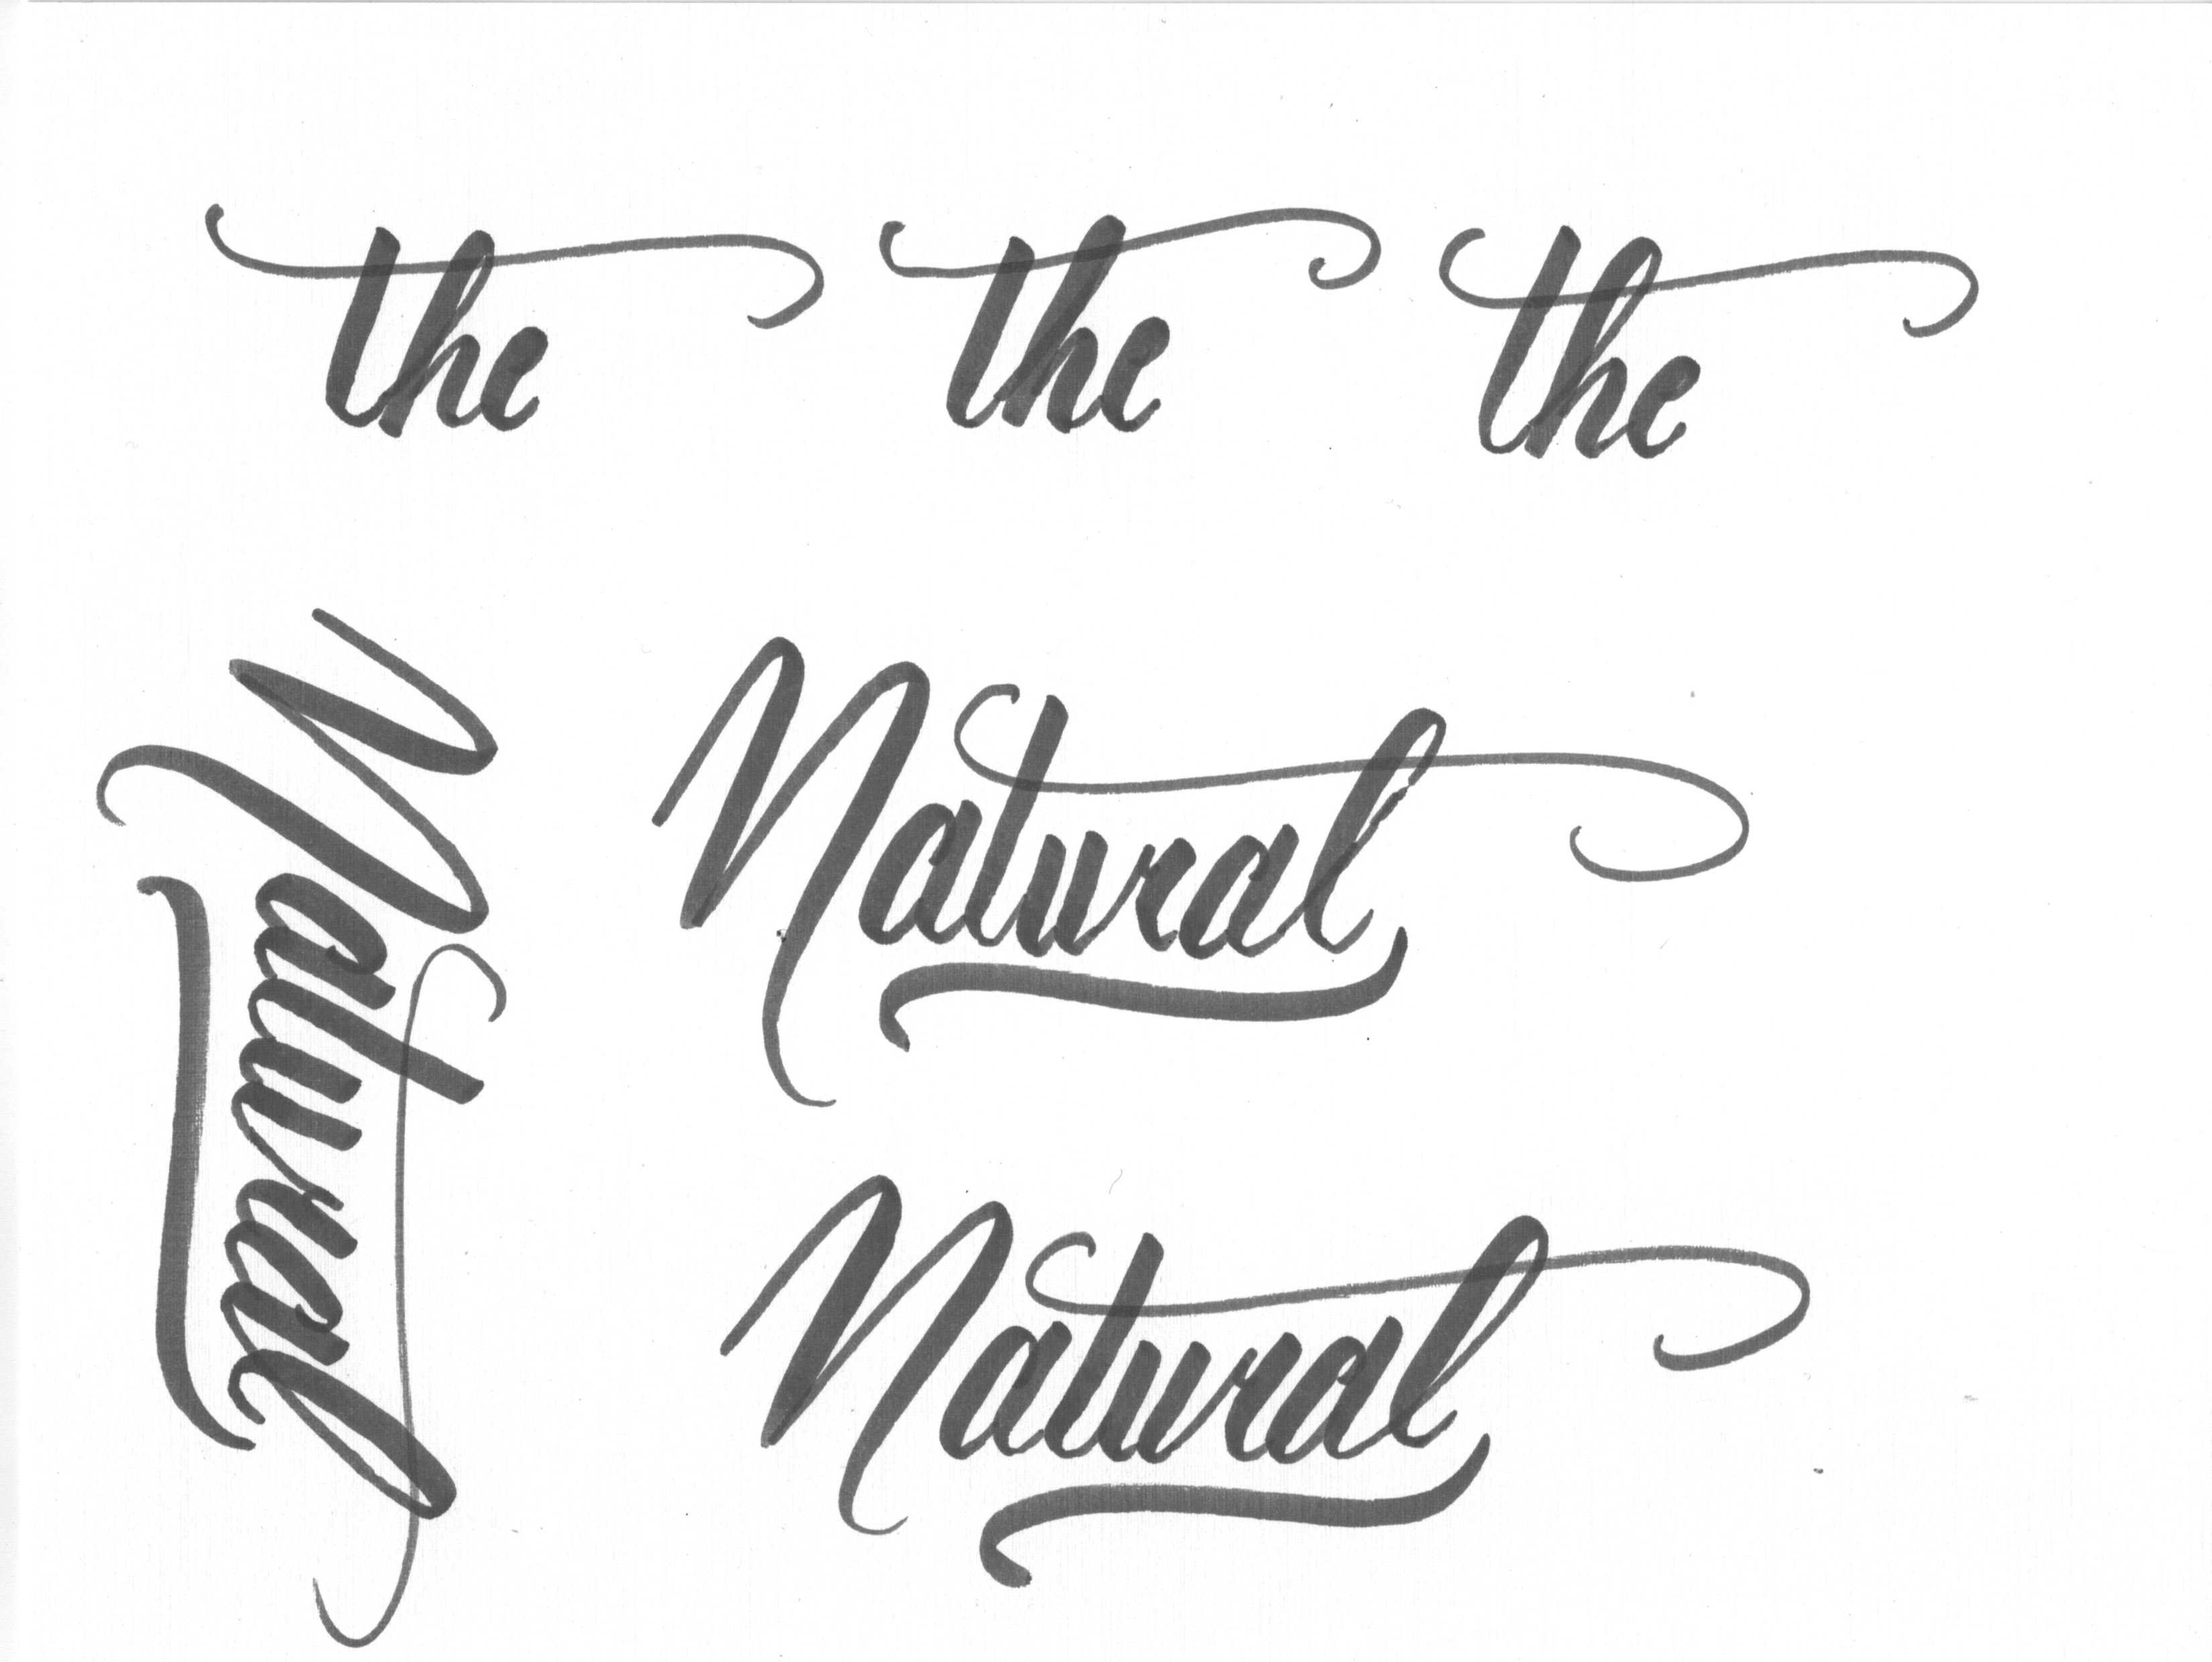
- Use soft-tipped markers (foam tipped) or proper brush markers to create a word of piece of lettering that you like.
- Take a photo of this lettering with your phone, DSLR and transfer to your computer, or just scan it into your system.
- Open the photo in Photoshop and crop and rotate and size the lettering as you wish.
- Convert to black and white and use Levels to boost the white paper to solid white
- Merge layers and invert the layer to make the text white and background black
- Adjust with levels more if needed
- (!!!) NOTE: You do not want to make the text solid white, you want to preserve the semi-transparency and texture of the brush, brush pen, or foam marker that you’ve created your text with. That texture is the organic, handwritten charm that your artwork will possess. KEEP IT!
- Open the photo over which we will place our text and drag that type we just processed into it.
- This is where we can New Layer Via Cut individual words or letters and push and pull the words until we get a perfect composition
- TIP: Before resizing any text, convert it to a Smart Object so you can always size it back up in the future
- Set any and all text layers to Screen blend mode to knock away all the black
- Add a Layer mask and mask away bits of the text to make it interact with the background image
- Create a new layer above everything and paint in little shadows where needed and add a 10px Gaussian blur to this layer
- Add a layer mask and use Color Range to get a rough selection of the actual text and use that to mask the shadows within the text and then touch up the mask to ensure the shadows are only right where they should be
- Add Selective Color layer just above the background image +20 black for the Neutrals and -10 black for the Blacks
- Add Curves adjustment layer above that selective color layer and darken the darks (screenshot might be here)
- Create a gradient map adjustment layer above those layers that runs #0e0910 to #4b7793
- Next, create a gradient map adjustment layer above the lettering layer and clip it to this layer
- Set the gradient colors to: #000000 to #ff0000 to #fffc00
Leave a Reply