Create a Linen Texture in Photoshop
I’m sure many of you, especially Mac/iOS users, have noticed that Apple has been using a ‘linen’ texture for the background of many of their designs. I’ve received many questions through IceflowStudios.com on how to achieve this type of effect. It’s actually quite simple!
Step 1:
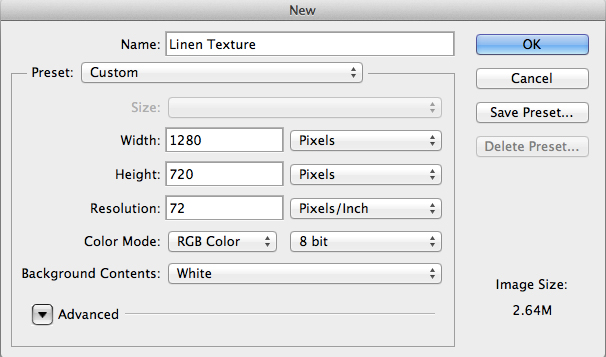
Start off by creating a new document at any size that you wish. If you’re planning on using this texture for the background of your website, I’d suggest you create a square document to help with tiling. We’ll get into that at the end of the tutorial.
Step 2:
Once the new document has been created, fill it with the ‘base’ color that you want your texture to be. In this case, we’re going to use #717785.
Step 3:
When the color is in place, it’s time for a Filter! Head up to Filter > Sketch > Water Paper. This filter will allow you to customize the Fiber Length, Brightness and Contrast. I have included settings which worked well for me, but test out different values until you get a result that you’re happy with.
Step 4:
Pressing OK will apply the filter to your image.
Step 5:
You may notice that the edges of your texture look slightly ‘off’. They have some extra white fibers which doesn’t look very appealing. Cropping off these edges will do the trick!
Step 6:
At this point, if you were just looking to achieve a ‘linen’ texture. You can stop here. However, many people would like to use this for the background of their website. Using the image at it’s current state will produce ugly tiling results. We need to make it ’tile friendly’.
If your image isn’t already square, crop out a square portion of the texture, preferably a dimension you’re remember, such as 500px X 500px. This can be done on your Options Bar when the Crop Tool is selected.
Step 7:
When your dimensions are set, drag out the area that you want to crop. You should be left with a square texture.
Step 8:
Now that our texture is square, it’s time to make it ’tile friendly’. Head up to Filter > Other > Offset. This window will help to ensure that our texture will tile properly. For the Horizontal and Vertical values, you want to enter exactly half of the document size. As we cropped this document to be 500x500, the values would be 250 and 250. You also want to make sure that Undefined Areas is set to Wrap Around.
Step 9:
When you apply the Offset Filter, you may notice the centers of your texture have a slight ‘line’ through them.
This can easily be fixed using your Spot Healing Brush Tool. Simply draw a line, holding down your Shift key, right overtop of the offset lines. You’ll be left with a seamless, tileable texture!
For another tutorial on how to create tileable textures, check out this tutorial!


Leave a Reply