Video
1. Grab Your Brushes
Before we get going in Photoshop we want to download a couple of brush packs. First, download this shattered glass brush and save it to your hard drive. Next, grab this grunge brush pack here.


2. Type Tool. Grab a Font.
I have a large 1920×1080 pixel document with a simple blue textured background with some lighting action happening. Grab the Type Tool (T) and choose the font “Novecento Wide” (Download it from here for free) and type a few words. I am using two text layers and setting the type on the second text layer to a smaller size.


3. Enlarge Type
We want to make our text fairly large. Go ahead and select both text layers in your layers panel and go Edit>Transform and scale the text large as I have (see my screenshot). The more size we have here with our type, the better our distressed, cracked effect will be. Bigger is better!

4. Convert Type to Shapes
Select both text layers in the layers panel and right click and choose “Convert to shape”. Hit Cmd/Ctrl + E to merge both shape layers together (CS6 or newer) and now you have converted your type to vector shapes and combined them into the same layer. Our text is now a serious of paths and still totally scalable.

5. Load Brushes
Grab the brush tool (B) and right click on your Photoshop document and look to the top right corner of this pop up window that appears and click the little fly out menu arrow. Choose “Load Brushes” and navigate to the “media-militia-distressed.abr” file on your hard drive and open that. This will pour those brushes into your brushes panel here.


6. Distress Type
With the new shape layer selected, go Layer>Layer Mask>Reveal All, to add a fresh layer mask to our shape here. Grab your brush tool (B), set the foreground color to black (D) and choose any grunge brush that you like and size it down a little smaller (I’m using the grunge brushes around 700px in size) and click around the edges of the type to texturize the type and give the kind of look I have in my screenshot here.

7. Orange Shatters
Create a new layer and set your foreground color to any bright orange that you like. Grab your brush tool (B) and load in the broken glass brush brush that we just downloaded. Paint a couple of orange bits of shattered glass as I have. NOTE: Be very careful not to paint too many bits of broken glass. It’s better to have less glass than more in this case.

8. Path Me!
Cmd/Ctrl + Click the thumbnail for our “Shatters” layer that we just painted on to load these shatters as one big selection. Grab the rectangular marquee tool (M) and right click anywhere in your document and hit “Make Work Path…” then set the tolerance to 1 pixel as I have in my screenshot. If we click on the eyeball in the layers panel to “shut off” this shatters layer, we can see our brand new complex path that we just created.


9. Copy Path
Grab the path selection tool (A) (the black arrow) and drag a selection over the entire Photoshop document to select every bit of this new path. Next go Edit>Copy, to copy this entire path to the clipboard.

10. Paste Path
Select the shape layer we made from our text way back earlier in this tutorial (see my screenshot if you’re confused) and then paste this path that we just copied by going Edit>Paste. DON’T DESELECT THE PATH YET!! Move on to the next step first…

11. Cut It Up
With the path selection tool (A) still active, look to the control bar at the top of the window and hit the “Path Operations” drop down menu icon and choose “Subtract Front Shape”. This will knock our shattered glass paths out of our text shape and give us a nice broken text look. TIP: If you start to lose huge chunks of your type, you’ve painted too many bits of shattered glass. Go back to that step in the tutorial and only paint 3-4 bits of shattered glass and try again.


12. Merge Paths
Again, grab the path selection tool (A) (the black arrow) and drag a selection over the entire document to select every path. Look to the control bar of the path selection tool and choose “Merge Shape Components” from the Path Operations drop down menu. This will help join all of our paths together. We are now able to break the text up, just check out the next step…


13. Break It Up!
Grab the direct selection tool (A) (the white arrow) and zoom in on your text and start grabbing little chunks of the type and using Edit>Free Transform to move and rotate pieces of the type to make the whole bit of text look broken up.

14. Do It Once, Do It Twice!
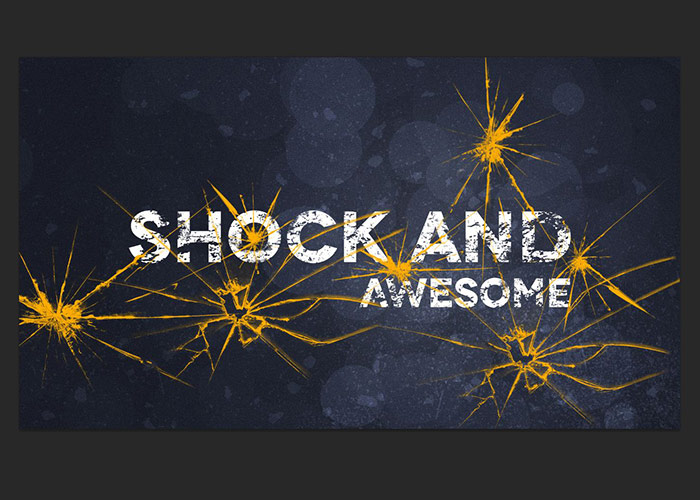
One of the great things about this technique is that every time you do it, you get a different finished result. Check out the three different variations that I’ve gotten on this type to see how many different results you can get in a short period of time. Go create one of your own!


Leave a Reply