
Create a Ticket Design in Photoshop
Another Saturday, another 365PSD inspired tutorial. Today’s tutorial, which will be posted on Nathaniel’s site, Tutvid.com, will cover creating an “Admit One” style ticket. But instead of creating a smooth, perfect ticket, we’re going to rough it up a bit!
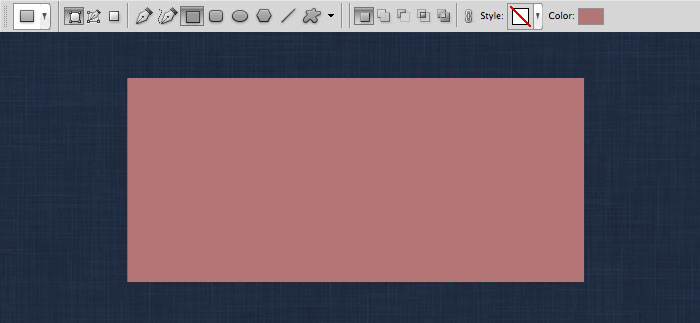
Step 1:
The first step to creating this ticket, would be to create the base shape, which is a rectangle. In your Tools Bar, grab the standard Rectangle Tool, then on your Options Bar at the top, let’s set the color now, so we don’t have to worry about it later. A slightly desaturated red should work well. #b37677. Drag out the rectangle, as large as you want the ticket to be.
Step 2:
Once the rectangle has been created, we need to punch out the notches on the sides. Because we’re dealing with a vector shape, we can easily subtract from the rectangle. Grab your Ellipse Tool, then on the Options Bar, make sure that the Subtract from shape area button is active. Once that’s set, drag out a perfect circle which covers a portion of the left edge of the ticket. The size of the notch is completely up to you.

Step 3:
When the first circle is cut out, to make things simple, we can duplicate it using the Path Selection Tool. This tool can be found in your Tools Bar. With the tool selected, click on the ticket, then click on the newly created circle. Now, just like you would duplicate a shape, hold down Alt/Option as well as Shift, and drag. Do this until you are happy with the amount of notches on the left side of the ticket. You’ll also want to add one on each corner as well. One on the top corner, then one on the bottom. Good, the left side is complete.

Step 4:
Now instead of repeating the process on the right side, let’s make it easy. With your Shift key held down, click on all of the circles that you created. This will temporarily group them together, allowing us to now hold down Alt/option, then duplicate them over to the right side. Depending on how the corner circles were placed, you may need to reposition the top and bottom circles. Simply click off the circles, select the top and bottom one, then move into place.

Step 5:
Now that we have the shape of our ticket complete, let’s add some Layer Styles to get it some style!


Step 6:
That’s looking much better. Let’s move on and add an indented outline to the inside of the ticket. Grab your Rounded Rectangle Tool from the Tools Bar and set the corner Radius to around 5 pixels. Before you create the shape, make sure that the Create new shape layer option is selected so that we don’t add or subtract anything by mistake. Now drag out the shape in the middle of your ticket. As you’re dragging, you can hold down your Spacebar to move the shape around before you place it.

Step 7:
Once it’s in place, we want to punch a hold in the center of it, leaving only an outline. Back on your Options Bar, select the Subtract button again, then grab out an identical, but smaller shape on top of the one you just created. When you release your mouse, you should be left with a simple outline.

Step 8:
Let’s add a few Layer Styles to give it an indented look.


Step 9:
Now that these Layer Styles are complete, let’s throw some text on our ticket. White text with the Blend Mode set to Soft Light should do the trick.

Step 10:
At this point, the clean version of the ticket is complete. If you’re happy with a clean ticket, you could skip these next few steps, but we’re going to rough it up a bit.
Selecting the main ticket once again, go ahead and add a Layer Mask to that layer.

Step 11:
Once the Layer Mask has been added, head up to the Filter menu, down to Brush Strokes, and choose Sprayed Strokes. When the filter pops up, I found that 20, 5, and Vertical work well, but experiment with different values to get the result that you are looking for.

Step 12:
When you apply the filter, because it was applied to the Layer Mask, it will create rough edges to the ticket.

Step 13:
The last step, which again is optional, would be to add a bit of grunge to your design. Creating a new layer above your current layers, using a black grudge brush, which you can download from the internet, add a design on top of the ticket. If it overflows outside of the ticket, turn your ticket into a selection, and add a Layer Mask to your grunge layer. Setting the Blend Mode to Soft Light, with an Opacity of 60% should complete the design.

Leave a Reply